New to Photography? Master Lighting with These Simple Tricks- Starting out in photography, you’ll find that lighting is key to great photos. Simple tricks for better light can really enhance your photos. With the right tips, you can boost your skills and improve your photos.
Beginner photography can feel overwhelming. But learning to work with different lights is vital. Whether indoors or outdoors, natural or artificial, knowing how to use light is crucial. This article will cover the basics of photography lighting and share easy tricks for better light.
Mastering lighting lets you control your photos and set the mood. With these simple tips, you’re on your way to becoming a skilled photographer. Remember, the more you practice, the better you’ll get. Don’t be afraid to try new things.
Key Takeaways
- Lighting is a crucial element in photography
- Easy photography tricks can improve your skills
- Understanding different light sources is essential
- Natural and artificial light can be used to your advantage
- Mastering lighting can help you create the desired mood and atmosphere
- Practice and experimentation are key to improving your photography skills
Understanding the Basics of Photography Lighting
Starting your photography journey means learning about lighting. Natural light is a great first step. It adds depth and warmth to your photos. Learning to work with natural light can boost your skills.
Lighting techniques involve several factors. The time of day affects the light quality. The golden hour, just after sunrise and before sunset, is perfect for photos. It offers soft, warm light that adds depth.
Understanding different light sources is also key. This includes artificial light like lamps and flash. Trying out various lighting can help you find your style.
Types of Light Sources in Photography
- Natural light: sunlight, moonlight, starlight
- Artificial light: lamps, flash, and other man-made light sources
Mastering lighting basics can make your photos stand out. Don’t be afraid to try new techniques and light sources. This will help you develop your unique style.
Easy Photography Tricks for Capturing Better Light as a New Photographer
Getting better at capturing light can seem hard at first. But, with a few simple tricks, you can make a big difference. Try shooting during the golden hour or on overcast days. The light is soft and even, giving your photos a natural look and less harsh shadows.
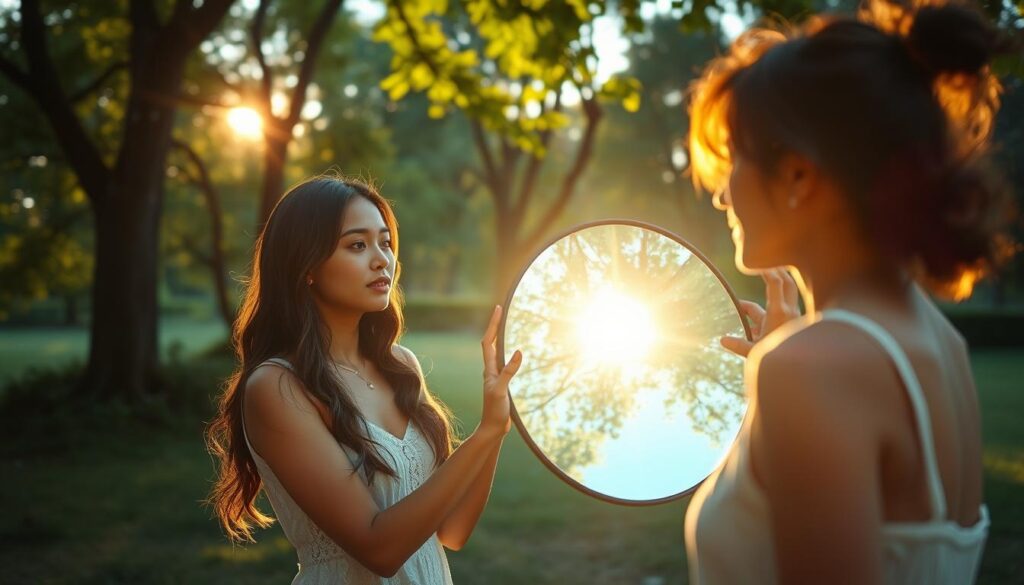
Think about the light’s direction too. Side light adds depth and interest, while backlight brings drama. Using a reflector can also help. It bounces light onto your subject’s face, making shadows less harsh and the look more flattering. These tricks can really boost your photography skills.
Some easy photography tricks to remember are:
- Shoot during the golden hour or overcast days
- Use a reflector to bounce light onto your subject’s face
- Pay attention to the direction of light, using side light or backlight to create depth and interest
By using these tips, you can get better at capturing light. Always keep practicing and trying new things. This will help you find what works best for you.
With these simple tips, you’re on your way to better light and photography skills. Whether you’re new or experienced, keep practicing and trying new things. This is how you master photography and improve with easy tricks.
Mastering Natural Light Photography Techniques
Exploring photography means learning about natural light. It’s a creative way to capture amazing images. With a few tips, you can improve your skills and make your photos stand out.
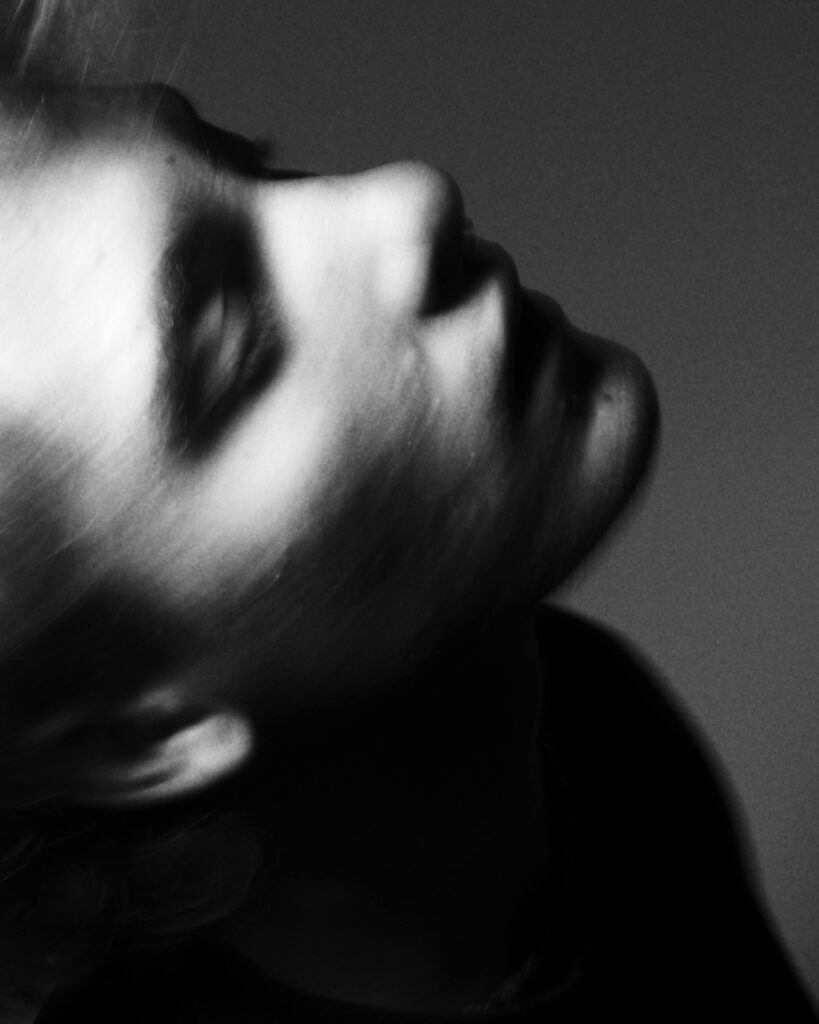
Shooting near a window is a great way to use natural light. The soft, indirect light creates a beautiful glow. This is perfect for portraits, as it softens shadows and flatters your subject’s face.
Window Light Portrait Tips
Positioning your subject near a window but not directly in front of it is key. This creates soft, indirect light that wraps around your subject’s face. You can also play with angles to find the best shot.
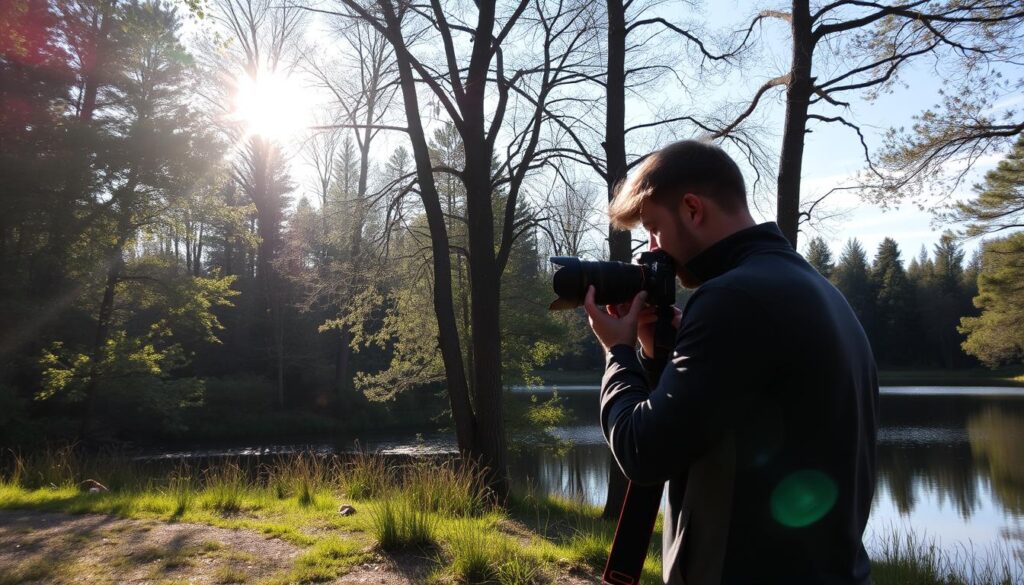
Outdoor Lighting Challenges and Solutions
Outdoor shooting can face harsh sunlight, leading to unflattering shadows and highlights. Use a reflector to bounce light or a diffuser to soften it. Shooting during the golden hour or on overcast days can also help. These techniques can make your images stunning.
| Lighting Condition | Challenge | Solution |
|---|---|---|
| Harsh Sunlight | Unflattering shadows and highlights | Use a reflector or diffuser |
| Soft Light | Flat, uninteresting images | Experiment with angles and positions |
Mastering natural light photography can elevate your photos. Follow these tips and always be open to trying new things. Remember, creativity is key to making your images truly special.
Creative Ways to Use Artificial Lighting
If you’re new to photography, you’re probably eager to learn more. One great way to improve is by trying out artificial lighting. You can use lamps, flash, and LED lights to add different effects and moods to your photos.
For beginners, knowing how to use artificial lighting is key. You can play with colored gels and filters to get unique effects. Think about the light’s direction and intensity. Use side light and back light to add depth to your photos. For instance, a softbox can give a soft light, while a ring light can create dramatic shadows.
Here are some creative ways to use artificial lighting:
- Use a flash to capture a moment in time.
- Try out different light sources like neon or string lights.
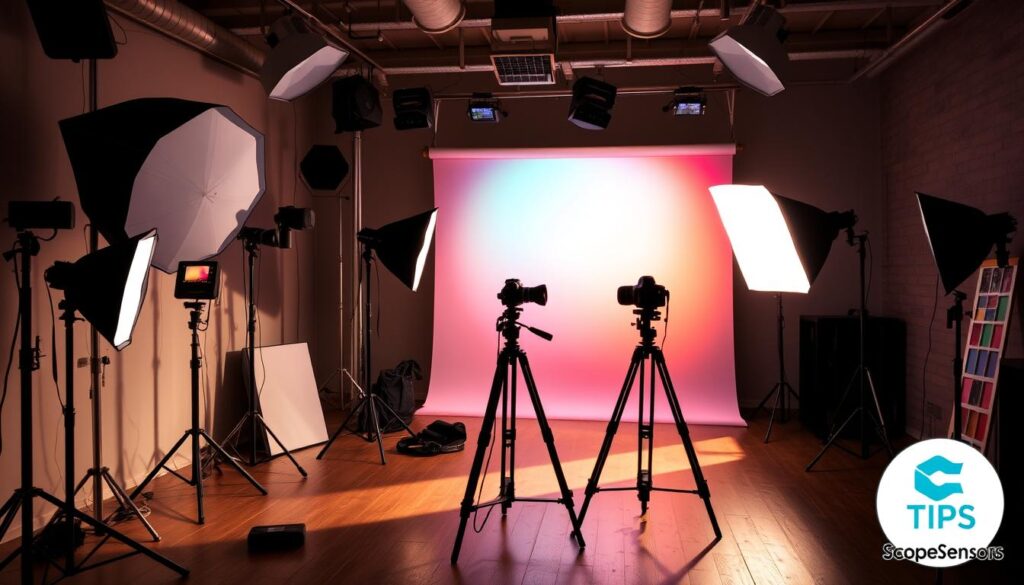
- Build a DIY photo studio with artificial lighting.
By trying these tips and ideas, you can make your photos stand out. Always keep practicing and trying new lighting techniques. This will help you grow as a beginner photographer.
| Lighting Technique | Description |
|---|---|
| Side Light | Creates a dramatic, shadowy effect |
| Back Light | Creates a beautiful, rimmed effect |
| Softbox | Creates a soft, diffused light |
Conclusion: Taking Your Photography Lighting Skills to the Next Level
Mastering photography lighting is key to improving your skills and taking amazing photos. Whether you’re new to photography or have been doing it for a while, these tips will help you grow. They’ll take your photos to new levels.
Lighting is the base of great photography. Knowing how to use natural and artificial light will make your photos stand out. Keep trying new things and don’t be scared to try new things. That’s where the magic is.
With hard work and a desire to learn, you’ll become a lighting master. You’ll be able to control the light to get the perfect shot every time. So, enjoy the journey, embrace the light, and let your passion for photography show in every photo.
FAQ
What are the different types of light sources in photography?
In photography, you have natural light and artificial light. Natural light comes from the sun, moon, and stars. Artificial light includes lamps, flash, and LEDs.
What is the golden hour and blue hour in photography?
The golden hour happens when the sun is low in the sky. It gives soft, warm light. The blue hour is just before sunrise and after sunset. It has a cool, blue light.
How does the direction of light affect my photos?
Light direction greatly impacts your photos. Front light makes subjects look even and flattering. Side light adds depth. Backlight creates silhouettes or dramatic shadows.
What are some easy tricks for capturing better light as a new photographer?
Easy tricks include shooting during the golden hour. Use a reflector to bounce light. Also, pay attention to light direction for depth and interest.
How can I use natural light for better portraits?
For natural light portraits, shoot near a window. The light should be soft and indirect. A reflector can also help bounce light and reduce shadows.
What are some creative ways to use artificial lighting in photography?
Try different light sources like lamps, flash, and LEDs. Use colored gels and filters for unique effects. Adjust light direction and intensity for mood and atmosphere.